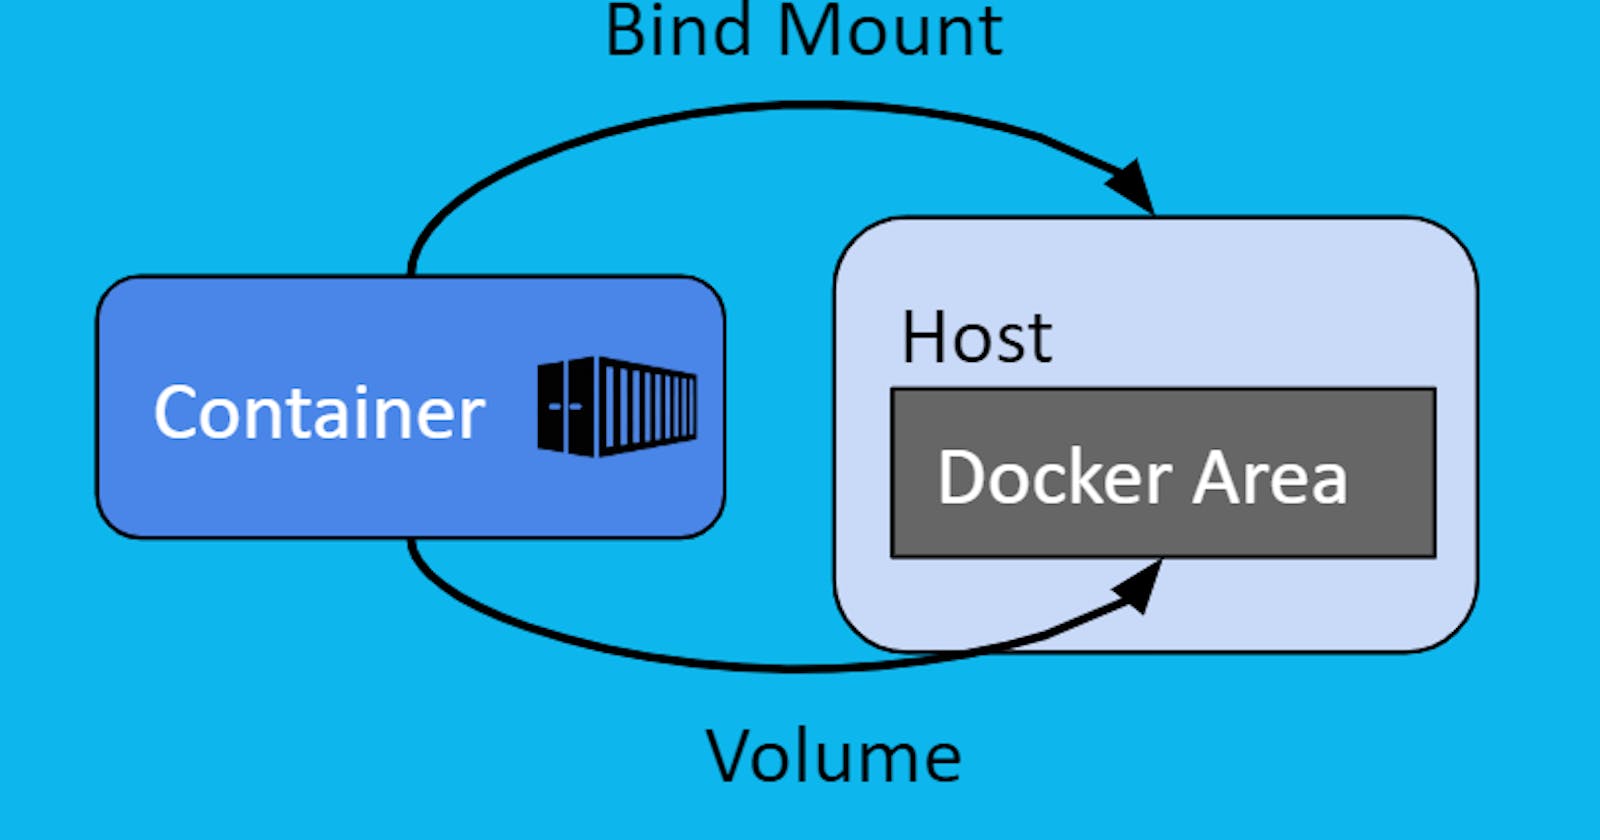
Bind mounts in Docker allow you to mount a file or directory on the host machine into a container. This means that changes made to the files in the mounted directory within the container will be reflected on the host, and vice versa. Bind mounts are commonly used for development, debugging, or providing configuration files to containers.
Bind mounts have been around since the early days of Docker. Bind mounts have limited functionality compared to volumes. When you use a bind mount, a file or directory on the host machine is mounted into a container. The file or directory is referenced by its absolute path on the host machine. By contrast, when you use a volume, a new directory is created within Docker’s storage directory on the host machine, and Docker manages that directory’s contents.
The file or directory does not need to exist on the Docker host already. It is created on demand if it does not yet exist. Bind mounts are very performant, but they rely on the host machine’s filesystem having a specific directory structure available. If you are developing new Docker applications, consider using named volume instead. You can’t use Docker CLI commands to directly manage bind mounts.
👉 Choose the — mount flag
--mount: Consists of multiple key-value pairs, separated by commas and each consisting of a <key>=<value> tuple. The --mount syntax is more verbose than -v or --volume, but the order of the keys is not significant, and the value of the flag is easier to understand.
The
typeof the mount, which can bebind,volume, ortmpfs. This topic discusses bind mounts, so the type is alwaysbind.The
sourceof the mount. For bind mounts, this is the path to the file or directory on the Docker daemon host. May be specified assourceorsrc.The
destinationtakes as its value the path where the file or directory is mounted in the container. May be specified asdestination,dst, ortarget.The
readonlyoption, if present, causes the bind mount to be mounted into the container as read-only.The
bind-propagationoption, if present, changes the bind propagation. May be one ofrprivate,private,rshared,shared,rslave,slave.The
--mountflag does not supportzorZoptions for modifying selinux labels.
👉 Differences between -v and — mount behavior
Because the -v and --volume flags have been a part of Docker for a long time, their behavior cannot be changed. This means that there is one behavior that is different between -v and --mount.
If you use -v or --volume to bind-mount a file or directory that does not yet exist on the Docker host, -v creates the endpoint for you. It is always created as a directory.
If you use --mount to bind-mount a file or directory that does not yet exist on the Docker host, Docker does not automatically create it for you, but generates an error.
Here’s how you can use bind mounts in Docker:
docker run -v /path/on/host:/path/in/container my_image
/host/path: Path on the host machine./container/path: Path in the container where the host path will be mounted.my_image: The Docker image you're running.
👉 Start a Container with Bind Mount:
Using Docker bind mounts, you can mount a file or folder on the host machine inside the container. The file or directory is referenced by its absolute path on the host machine.
To demonstrate this, let’s create a directory bind on our host machine and create a file index.html in it.
localhost:~$ mkdir bind
localhost:~$ cd bind/
localhost:~/bind$ vi index.html
Where contents of index.html file are as follows-
localhost:~/bind$ cat index.html
<html>
        <head>
                <title>test</title>
        </head>
        <body>
                <h1 align="center">Docker BindMount</h1>
        </body>
</html>
localhost:~/bind$ this is a test line here
We will see how we can access this same file inside our container.
Create a container using Ubuntu image and binding the directory we just created to the /tmp/test/ directory inside the container.
localhost:~/bind$ cd ..
localhost:~/bind$ docker container run -it -v /home/docker/bind:/tmp/test/ ubuntu
Note: As we have seen in docker volumes if the /tmp/test/ is not present, docker will create it automatically and also, in case the path already exists and if there is some data already then, that data will get hidden but will still be accessible to the user.
Now verifying the output of the above command-
root@cfff4a121252:/# cd /tmp/
root@cfff4a121252:/tmp# ls
test
root@cfff4a121252:/tmp# cd test/
root@cfff4a121252:/tmp/test# ls
index.html
root@cfff4a121252:/tmp/test# cat index.html
<html>
        <head>
                <title>test</title>
        </head>
        <body>
                <h1 align="center">Docker BindMount</h1>
        </body>
</html>
root@cfff4a121252:/tmp/test#
The container has the test directory and also index.html in place.
If we make any changes inside the container, it will be reflected in the host machine’s directory as well.
Make sure that while providing the path of the directory, you mention the entire path and not the relative path as docker will consider it a new volume-
localhost:~/bind$ docker container run -itd -v bind:/tmp/test/ ubuntu
63f5abfbd92aceb91e60232508cd5c1543d52e0975cd8afb66b777ac25b08774
localhost:~/bind$ docker volume ls
DRIVER    VOLUME NAME
local     bind
localhost:~/bind$
Passing the current directory as bind volume
In case you want to bind the present working directory, then pass the $(pwd) to the command as below:-
localhost:~/bind$ docker container run -it -v $(pwd):/tmp/test/ ubuntu
root@23d4c6b42dd0:/# cd /tmp/test/
root@23d4c6b42dd0:/tmp/test# ls
index.html
root@23d4c6b42dd0:/tmp/test# cat index.html
<html>
        <head>
                <title>test</title>
        </head>
        <body>
                <h1 align="center">Docker BindMount</h1>
        </body>
</html>
root@23d4c6b42dd0:/tmp/test#
The above command can also be written in below manner:-
localhost:~/bind$ docker container run -it --mount type=bind,source=$(pwd),target=/tmp/test ubuntu bash
root@221bfae70469:/# cd /tmp/test/
root@221bfae70469:/tmp/test# ls
index.html
root@221bfae70469:/tmp/test#
